
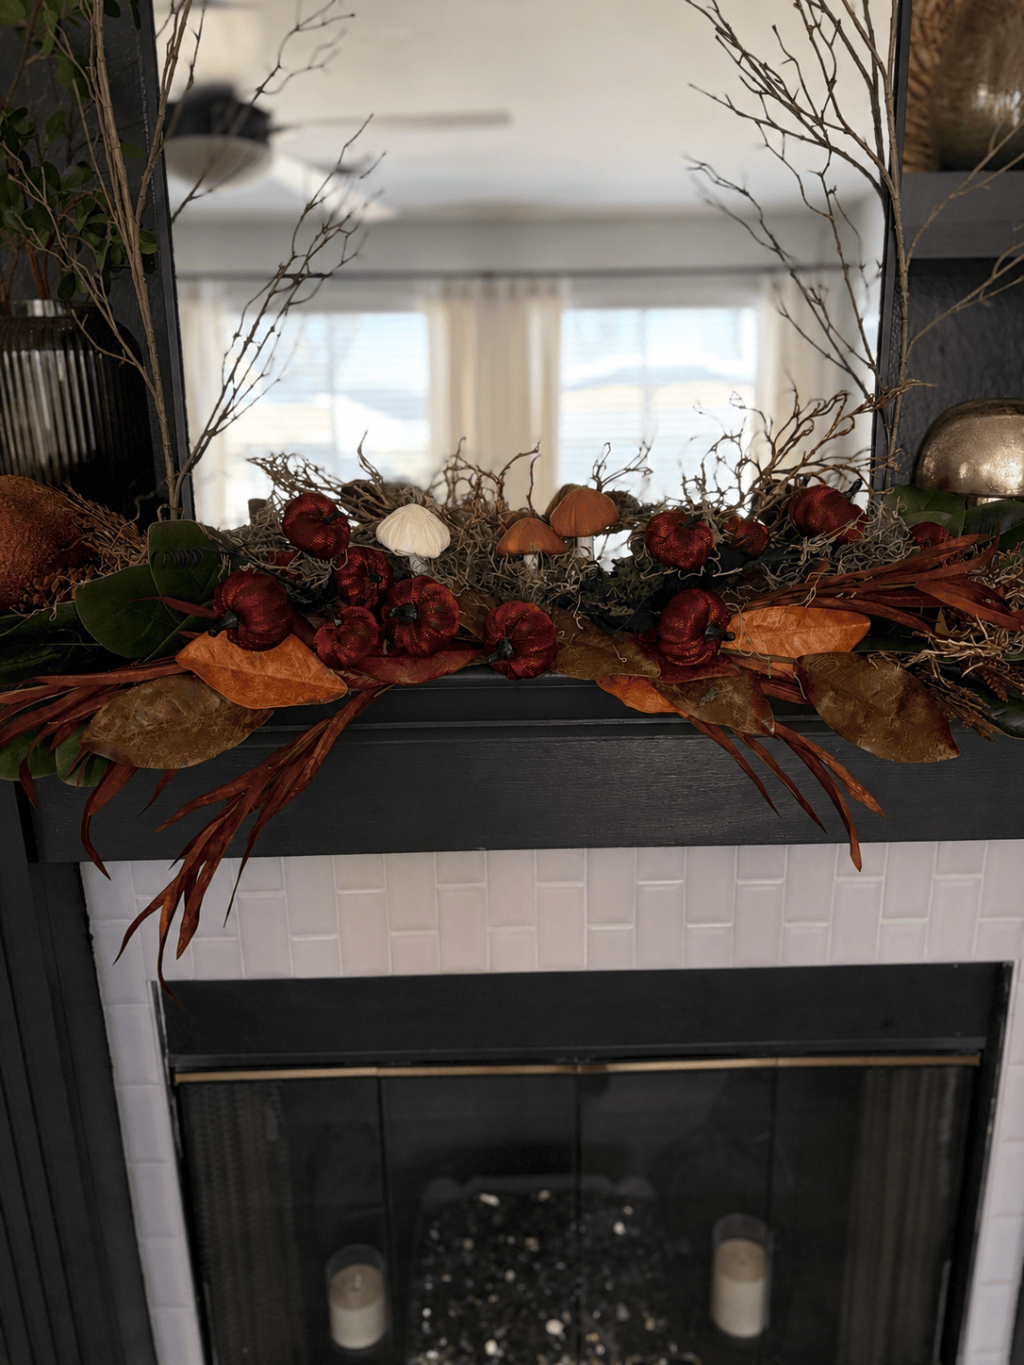
An easy layered fall mantle that can transition straight into Halloween and Thanksgiving.
If you saw my Early Fall Decorating post, you know that this year I decided to do seasonal decorating a little differently.
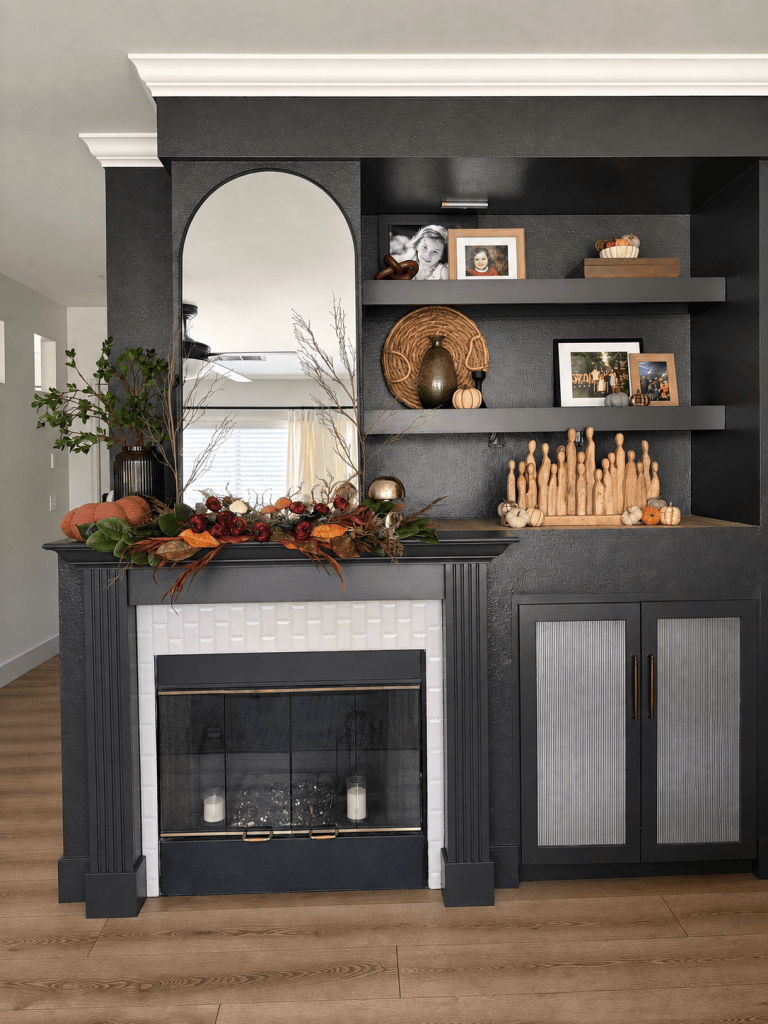
Instead of decorating for fall, taking everything down for Halloween, and then doing it all over again for Thanksgiving, I created one layered base that can change with the season.
The fireplace was the biggest part of that plan.
I wanted the mantle to feel warm, moody and a little woodland-inspired without looking overly themed. And instead of buying one big premade fall garland, I built the arrangement myself using greenery, branches, moss, pumpkins and a few unexpected little details.
Here’s exactly how I put it together.
Step 1: Start With a Base
I started by laying greenery across the mantle to establish the overall shape.
I wasn’t trying to make everything perfectly symmetrical. In fact, I wanted some pieces to hang over the edge and others to stick out farther so the finished arrangement would feel a little wild and organic.
If you’re recreating this look, don’t worry about making the first layer pretty. Most of it will eventually disappear underneath everything else.
Think of it as the structure for all the layers you’re about to add.
Step 2: Add Branches for Height and Movement
This was probably one of the most important parts of the entire arrangement.
The fireplace and built-ins are large, and smaller decor can get lost against them. Adding tall branches immediately gave the mantle more height and helped balance the scale of the fireplace.
I also tucked smaller branches throughout the garland rather than keeping everything contained right on top of the mantle.
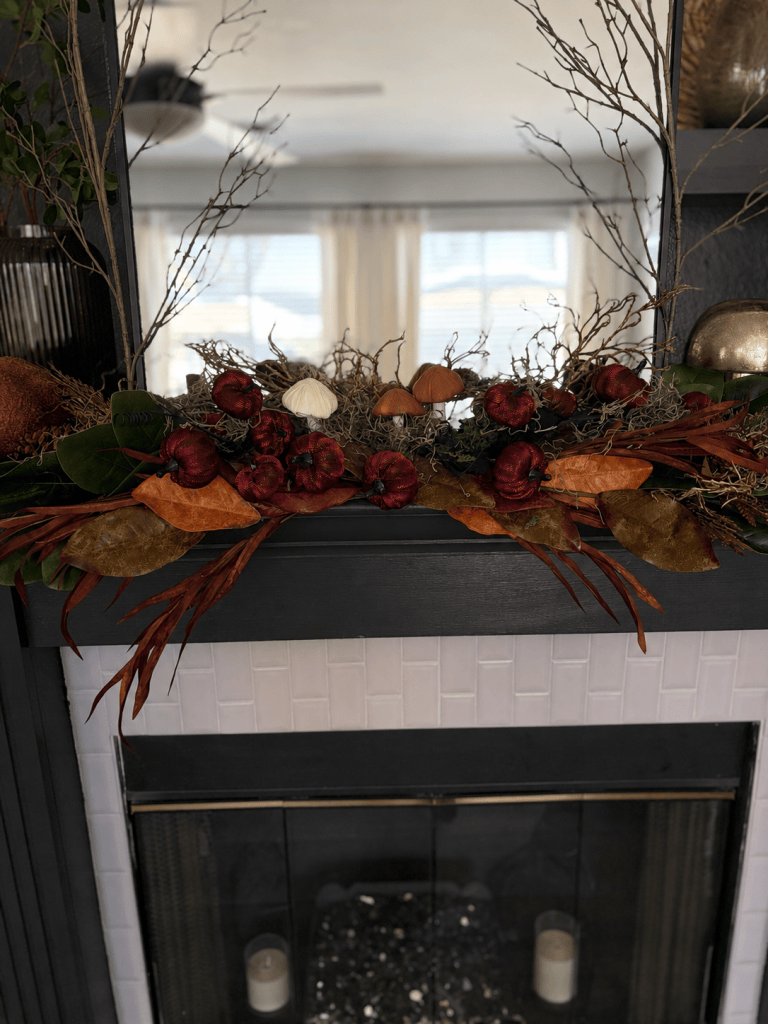
Some stick up. Some come forward. Some hang over the edge. That little bit of messiness is what keeps the arrangement from looking like a perfectly shaped store-bought garland.
Step 3: Layer in the Fall Color
Once I had the basic shape, I started adding color.
Instead of using bright traditional fall orange everywhere, I chose deeper shades of burgundy, rust, brown and green.
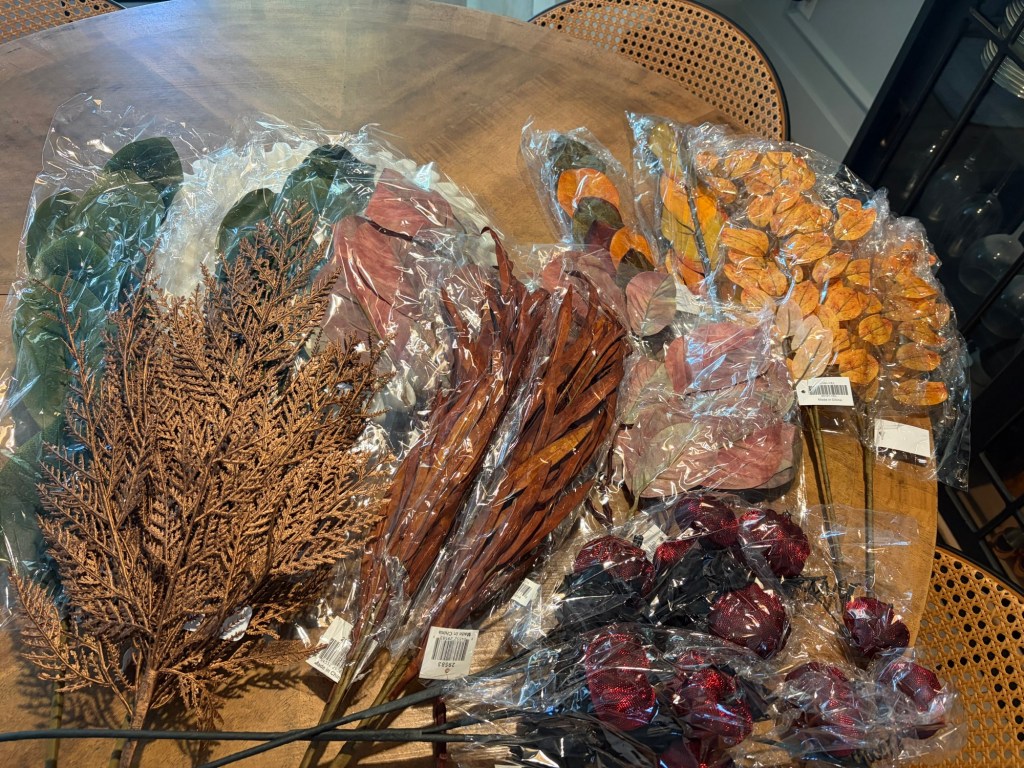
I mixed those into the greenery rather than adding one type of stem at a time. Breaking larger stems apart and tucking smaller pieces throughout the arrangement helped the colors feel scattered naturally instead of creating obvious sections.
This is also a really easy way to make a few stems go much farther.
Step 4: Add the Woodland Details
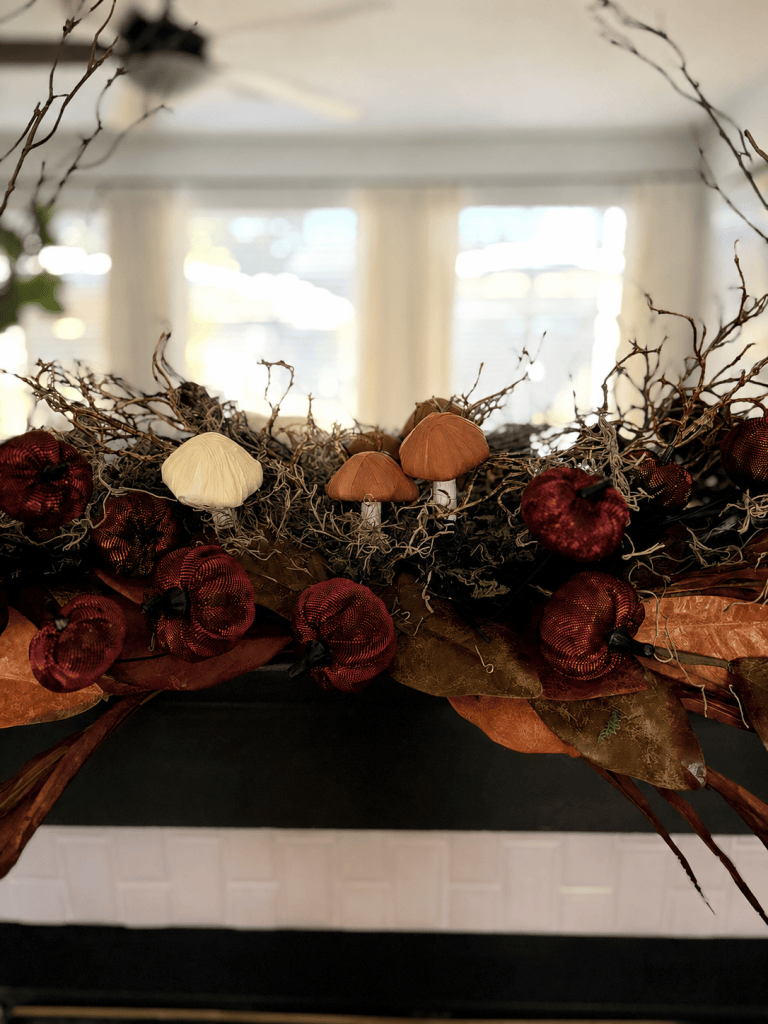
And now for my favorite part.
The mushrooms.
I wanted the mantle to have a woodland feeling without turning it into an actual woodland theme, so I used the smaller details almost like little surprises tucked into the arrangement.
I added mushrooms, small pumpkins, moss and natural-looking branches throughout rather than putting all of one thing together.
The little mushrooms especially make you look twice — which is exactly what I wanted.
Step 5: Use Moss to Fill the Gaps
Moss ended up being one of the easiest ways to make all of the individual pieces look like one arrangement.
Anywhere I could see an awkward opening, exposed stem or area that looked unfinished, I tucked in a little moss.
I didn’t place it evenly across the entire mantle. Some areas have more and some barely have any.
That variation helps everything feel more natural.
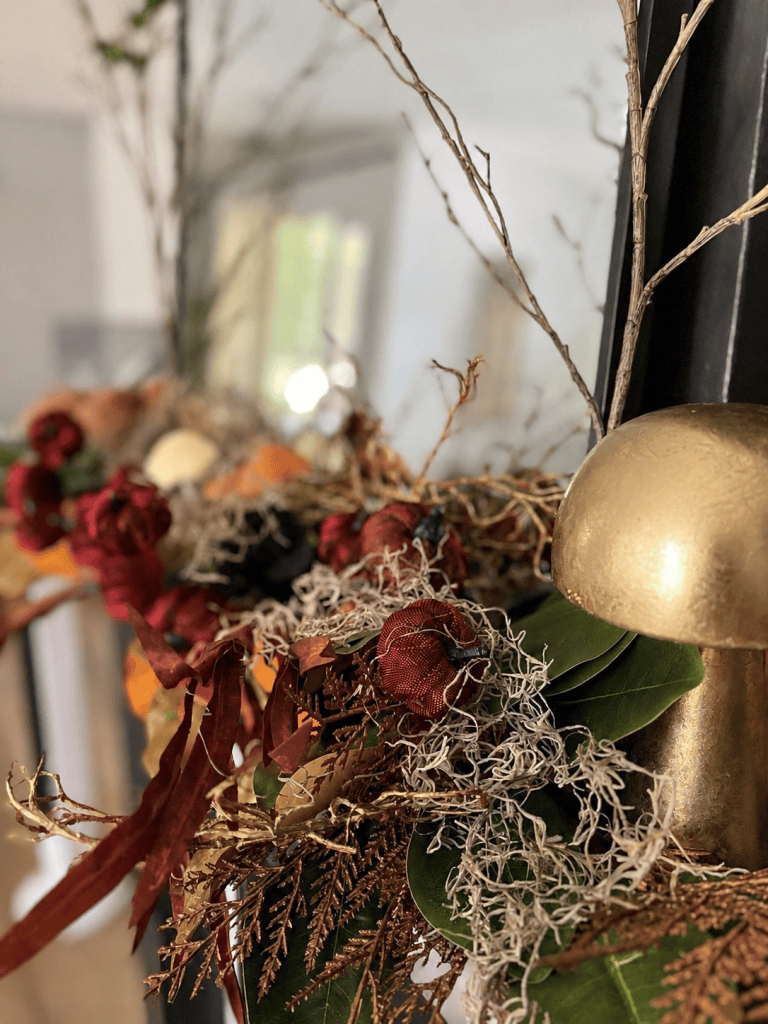
Step 6: Mix Your Pumpkins Instead of Matching Them
I didn’t want a row of matching pumpkins across the fireplace, so I mixed different sizes, textures and deeper colors into the arrangement.
And this is also where I had one of those decorating moments where something just wasn’t working.
I originally had a lighter pumpkin in the arrangement.
I moved it.
Then I moved it again.
And again.
Finally, I took it out completely.
Instantly better.
Sometimes the thing a space needs isn’t one more decoration. It’s removing the one thing that’s throwing everything else off.
Step 7: Step Back and Check the Whole Fireplace
Once everything was in place, I stopped looking at the individual pieces and looked at the fireplace as a whole.
That is when I check:
- Is there enough height?
- Does one side feel heavier than the other?
- Is there too much of one color in one area?
- Are there obvious gaps?
- Does anything look too perfectly placed?
I don’t think an arrangement like this should look perfect up close.
It should look good when you walk into the room.
That’s a much better test.
Why I Built It This Way
The best part about this mantle is that I’m not planning to take it apart for Halloween.
The mushrooms stay.
The moss stays.
The branches stay.
The pumpkins stay.
The deeper burgundy and green colors stay.
When I’m ready for Halloween, I can layer darker and slightly spookier elements right over what is already here.
Then after Halloween, those pieces can come back out and the same base can transition into Thanksgiving.
Three seasonal looks.
One base.
And significantly less hauling decor in and out of storage.
Recreate the Look
You definitely don’t need the exact same pieces to recreate this mantle.
Look for:
- Greenery or a simple garland for your base
- Burgundy or rust-colored fall stems
- Natural-looking branches
- Spanish or preserved-style moss
- Small mushrooms
- Velvet or textured pumpkins
- A few larger pumpkins to anchor the ends
- Floral wire or zip ties for securing stubborn pieces
I’ve linked a few of the pieces I used below so you can recreate the look or mix them into your own fall decor.
- Cream Mushrooms (Michaels)
- Rust Mushrooms (Michaels)
- Spanish Moss (Michaels)
- Tall Branches (Michaels)
- Brown Boucle Pumpkin (Amazon)
- Gold Mushroom (Amazon)
My biggest tip is to buy individual pieces you can use in different ways instead of looking for one garland that already has everything attached.
It gives you much more control over the colors, scale and shape — and next year you can take the same pieces apart and use them completely differently.
The Finished Fall Mantle
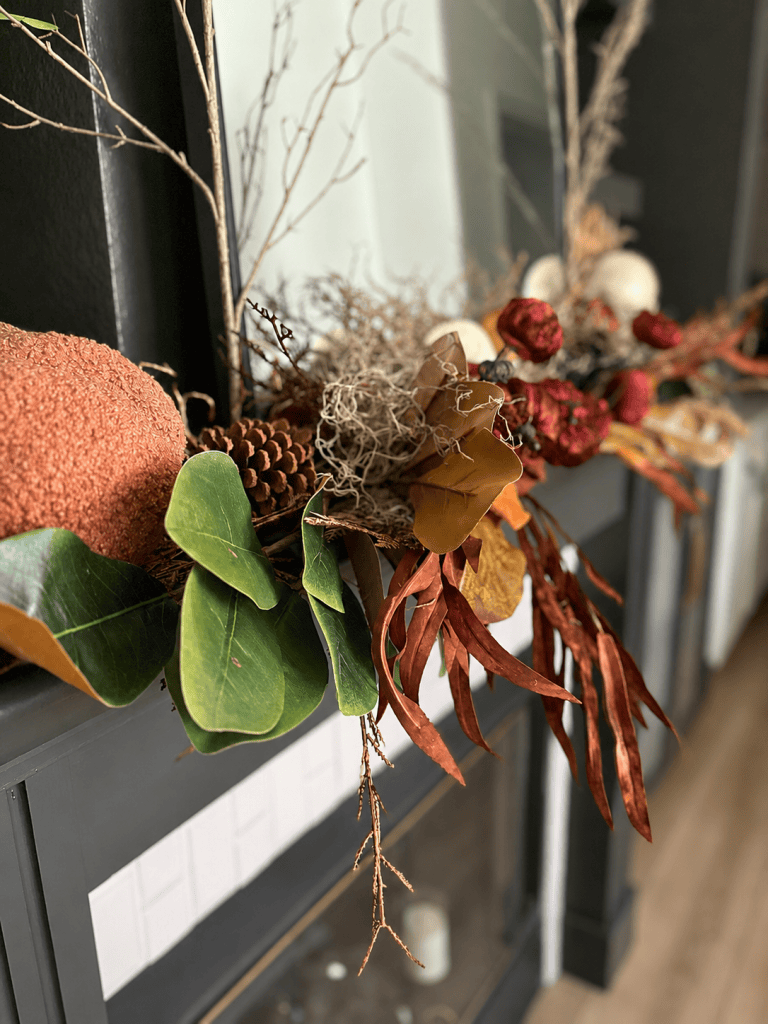
This might be one of my favorite fall mantles I’ve done because it doesn’t feel like I simply added fall decorations to the fireplace.
It feels like it belongs with the rest of the room.
And more importantly, this is only Layer One.
Next I’ll start adding the Halloween details and we’ll see just how spooky I can make it without taking any of this down.
If you want to see how the rest of the house works with this mantle, you can see the full Early Fall Decorating: A Layered Look That Takes You From Fall to Halloween & Thanksgiving post here.
Next up: turning this woodland fall mantle into a Halloween mantle without starting over.


Leave a comment